This natural swimming pond site is in a back yard in Round Rock Texas. Deep in the subdivision of Forrest Creek off red bud. The first thing we do is paint out the rough shape with construction spray paint, I like orange but you can use any color. The first thing I do is level the canvas, I treat all yards as a canvas.
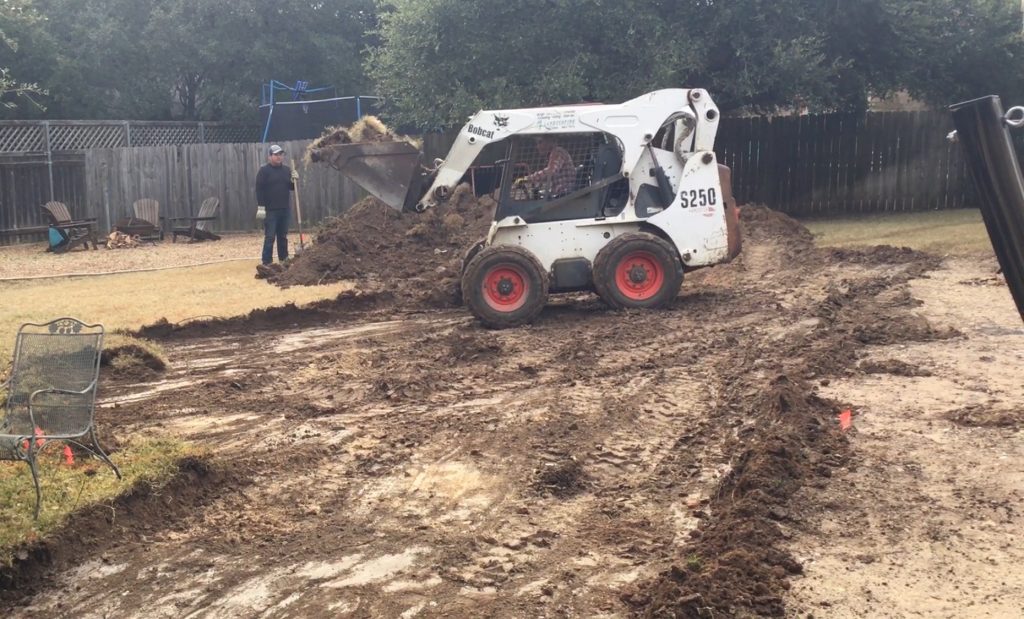
Before you get to far ahead of yourself bring the rock back to the work area so it can be moved easier later. The rocks for this swim pond will all be moved in by hand.
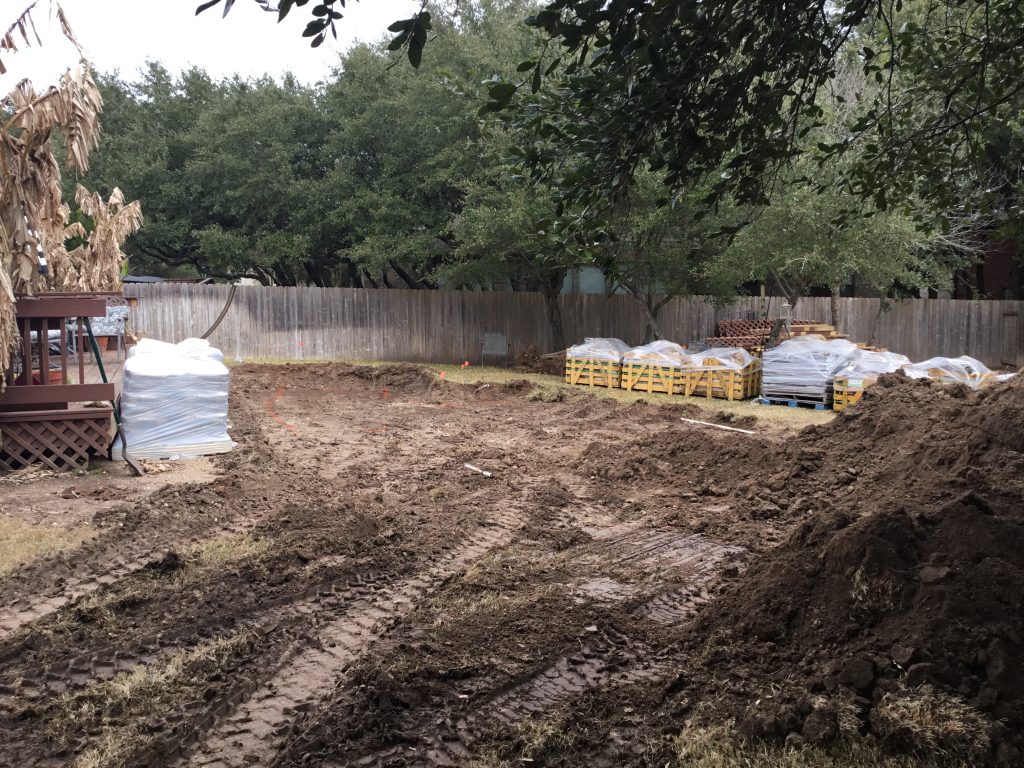
Next you will want to dig down to the first shelf. I go 1 foot deep and pile the dirt on the opposite side of where the skimmer will go. You can see the dirt in the above photo. This is where the wetland filter will be installed. The skimmer area will be all the way back to the left.
You can see in the above photo that we have dug down a foot. The pile of dirt is only a small piece of the total amount of dirt we pulled out of this hole. There is a pile of dirt 8 feet tall and 14 feet wide on the driveway in the front yard. Now within this perimeter we paint the next level down. This level will go 3 feet deep. When this recreational swim pond is complete it will have a 5 1/2 foot deep jump area.
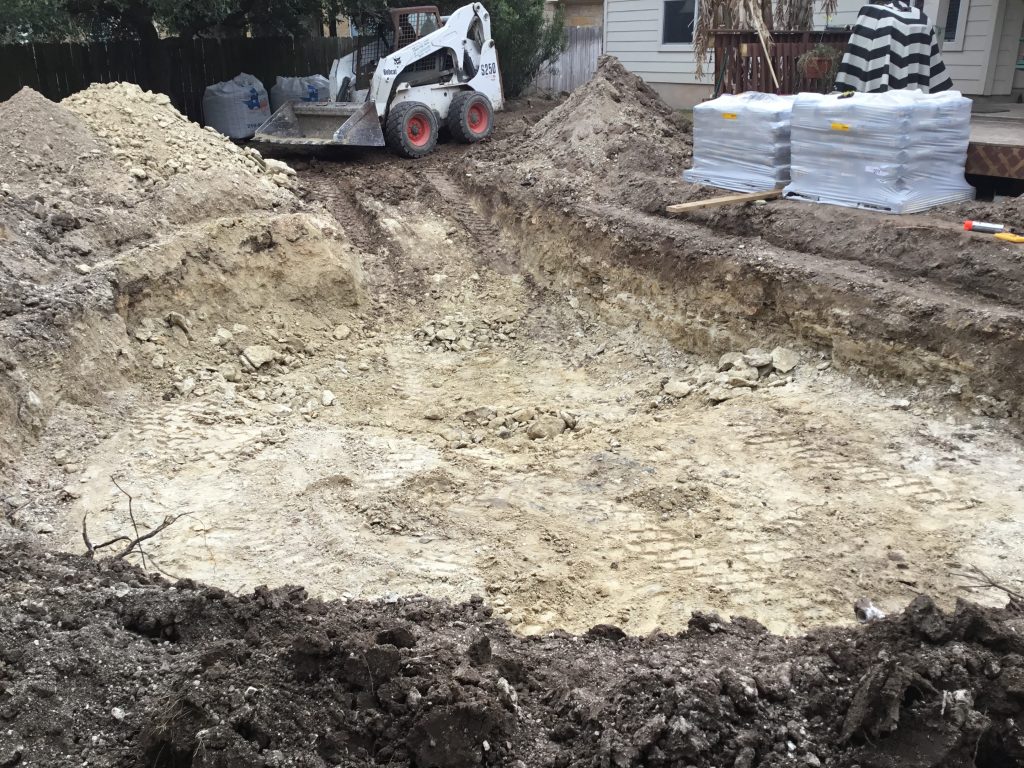
Depending on where you live will either be dirt, dirt and rock or just rock. We encountered caliche at 2 feet. Then solid stone caliche at 2 1/2 feet all the way to 5 1/2 feet. This had to be broke with a jack hammer. If you were doing this by hand this digging would take months. If you are not skilled at a bobcat or excavation equipment you might want to hire someone. Driving out of a 5 foot hole with a full bucket of stone is scary as hell.
Unless you are on land this dirt and rock has to go someplace. We had to put in on the driveway in the front yard. Total amount dug from this hole was 84 yards. We saved 12 yards in the backyard for building the waterfalls and stream but the rest was hauled away. If you are taking on this project yourself you will need a bobcat with a 110 inch reach to dump in the truck.
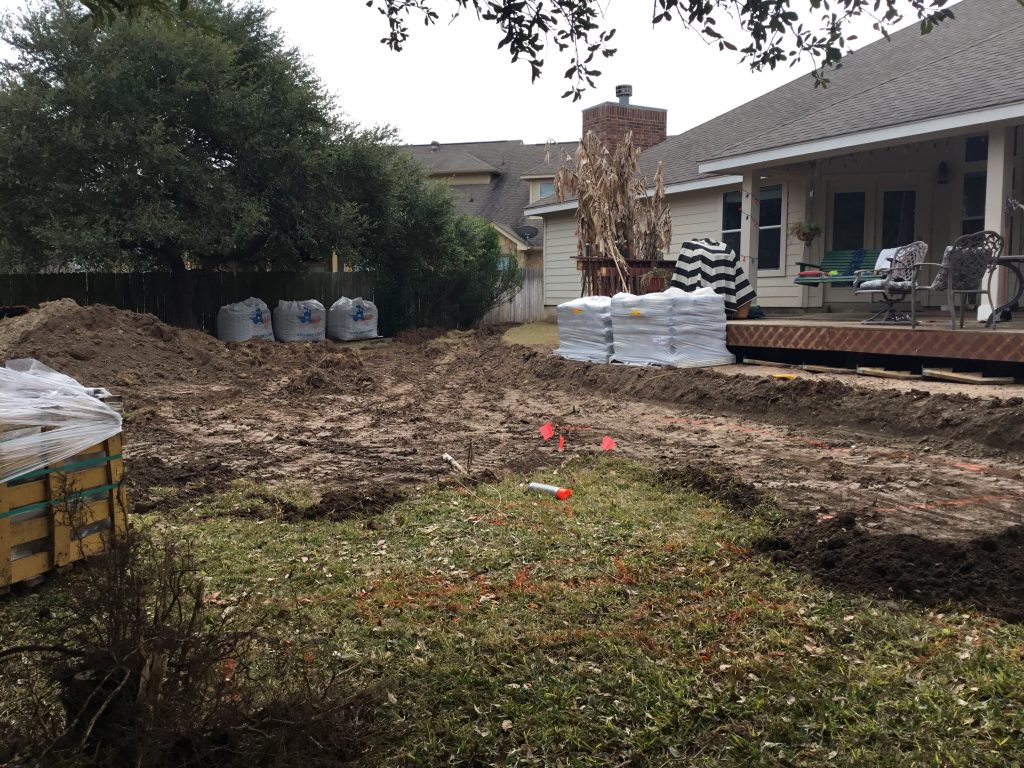
Depending on soil quality and depth you might have to reinforce with concrete. We always do at the 5 foot mark up to the 3 foot level. This will prevent a cave in. We will not be showing you are technique on this one. In the pictures below you will see the 2 pallets of concrete strategically placed for easy access. These will be used with rebar to make a strong wall.
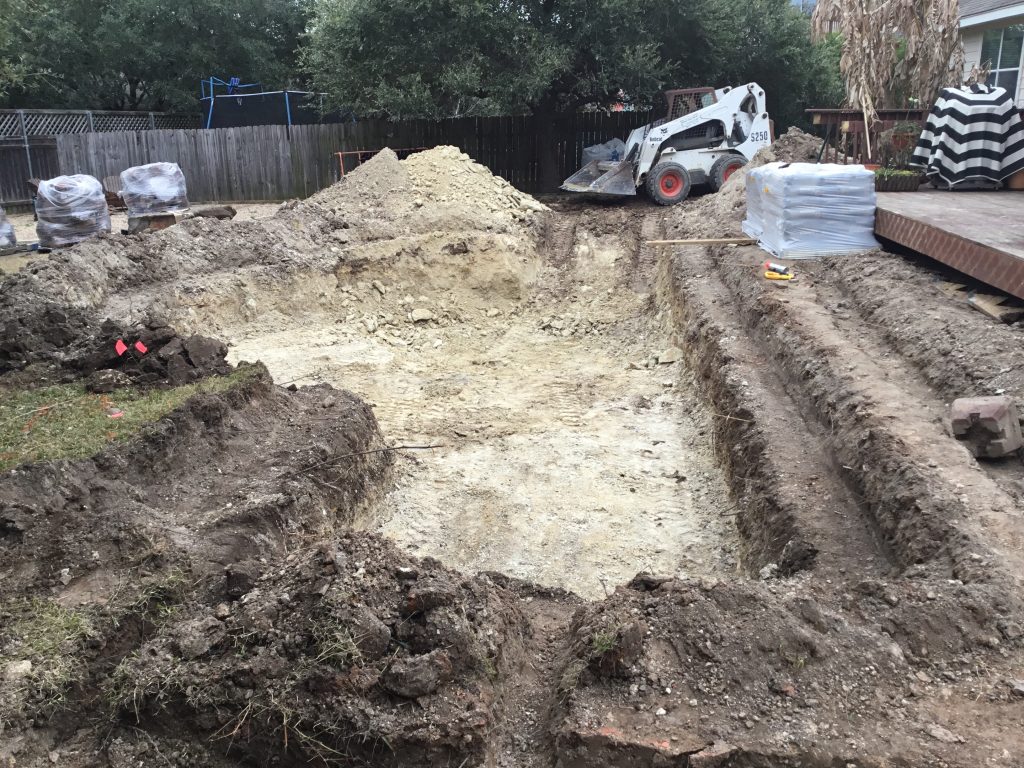
After we complete the concrete wall we will let it setup and cure. Next step is underlayment and liner. There are 2 liners for this pond, one is 30 x 50 for the pond and 20 x 20 for the wetland filter and river falls. In the picture above you can see we already dug the ditches for the 3 inch pipe. There will be 2- 8000 gph pumps powering this swim pond. 12,000 gph going to the wetland filter and 4000 gph going to the stream. One pump will run 24 hours a day and the other will run 12 hours. Each pump is remotely controlled so we can override it anytime.
Tweet